
How I use Claude Code. Click to watch the screencast, or read on for an explanation.
Also, I recently posted a YouTube video with an extended demonstration of using this workflow in practice.
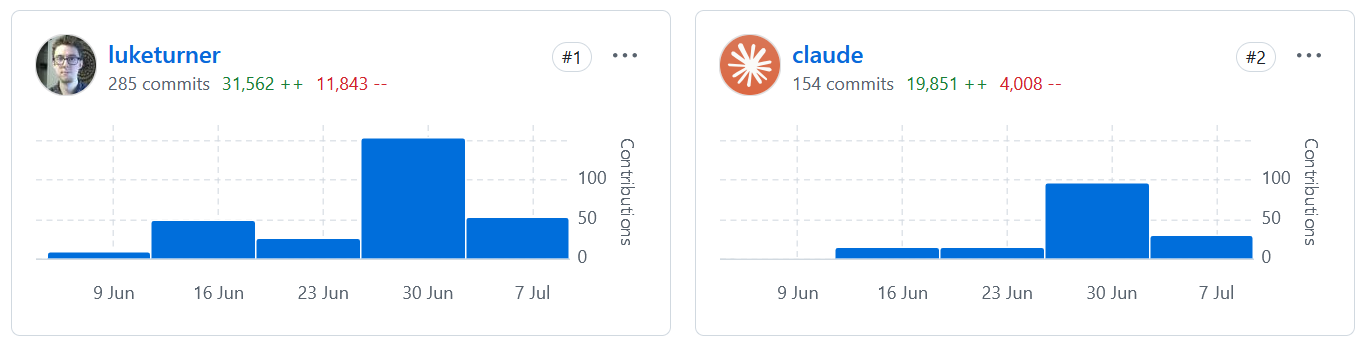
Lately I’ve been working on a tool/app called Webhook Testing Tool, and experimenting with using Claude Code in the process. I’ve made a few commits in the last couple weeks:
I have a lot of thoughts about AI-assisted development but I’m struggling to get them all out, so I’ll start by just sharing my workflow.
First, I use a Github Codespace to isolate my development environment from everything else. This feels like enough to make me comfortable running Claude with --dangerously-skip-permissions, which I wouldn’t otherwise feel comfortable with.
It also has the advantage of forcing me to declare every single dependency of my development environment in a big ol’ Dockerfile, which is good project hygiene anyway.
You could also just use a plain Devcontainer running on your computer, they share the same configuration files.
Or, heck, just a plain container if you want, you do you.
But that’s not all. I quickly realized that while claude is working on a task, I’m sitting there twiddling my thumbs. Some tasks would take 5+ minutes to implement, test, and finally get back to me. How can I use that time? Why not spin up another claude session?
Turns out, there’s a solution for this — create a new Git worktree, launch another claude session in that worktree, and now both sessions are going at once. It’s described in the Claude code docs.
The problem is, it’s kind of a manual process. So naturally I automated it. What I ended up with was a worktree.ts script (wt for short) that can be used to automatically spin up a transient, micro-IDE for a task with a single command:
wt newThis will:
- Create a new worktree with a Heroku-style random name (e.g.
weird-fish-fight). - Install all the dependencies the worktree needs, including copying environment variables and copying the test database over (the app uses SQLite, so databases are just a file).
- Launch a
tmuxsession in the worktree with three windows:- Claude Code
- The app dev server (
bun run dev) - Lazygit
I’ve since made a few adjustments to this, including replacing tmux with zellij, but overall it’s still as described and shown in the screencast.
The idea is you run wt new, then tell Claude what you want it to build.
As a side note, I don’t want to get into prompt stuff much in this post, but be specific! Describe the actual names of the functions you want to add/change, etc.
While it builds, you can watch the dev server and even open the app and test things. The app is running with a port specific to that worktree.
Then, you can look in Lazygit and see what Claude did. Hopefully it’s mostly good, but likely you’ll want to change some stuff. Just hit e in Lazygit and it’ll open the file in your terminal-based editor of choice (helix editor in my case) and you can tweak the files.
Then ask Claude to commit the changes. I have a /commit command for that.
Finally, just end the tmux session and the wt script will automatically clean up the worktree and cherry pick the commits back into the main branch.
There is at least one integrated tool for handling multiple sessions: Crystal. I didn’t think it would be up my alley, though.
If you want a similar worktree-based workflow but with an integrated GUI, you could try that out instead.
The reason this works well is that the interaction paradigm is different with Claude than when you’re writing code yourself. You don’t need a full-weight editor like VS Code because you are mostly just reading and tweaking diffs. That’s why this workflow optimizes for:
- Easily spinning up new development environments.
- Viewing and tweaking changes, not writing large blocks of new code.
- Previewing and testing changes.
A few final tips for getting good results:
- Use a
CLAUDE.md. This is the one for Webhook Testing Tool: CLAUDE.md - Prefer using Opus over Sonnet where possible. Opus tends to produce better results and fewer bugs in my experience.
- Allow Claude to build its own context using “analyze…” prompts.
For example, I might write a prompt like this:
analyze how handlers are executed in the webhook-server
Then once Claude spits out its analysis, I’d prompt it to fix something:
add a configurable timeout to handler execution, aborting execution with an AbortSignal if it takes too long. The timeout should be stored in a new
timeoutcolumn in the handler table. Timeouts errors should be tracked as an execution error in the handler_execution record.
This also illustrates how being specific is important. If you just say “add a timeout to handler execution” without even a rough implementation plan, it won’t work as well (in my experience).
