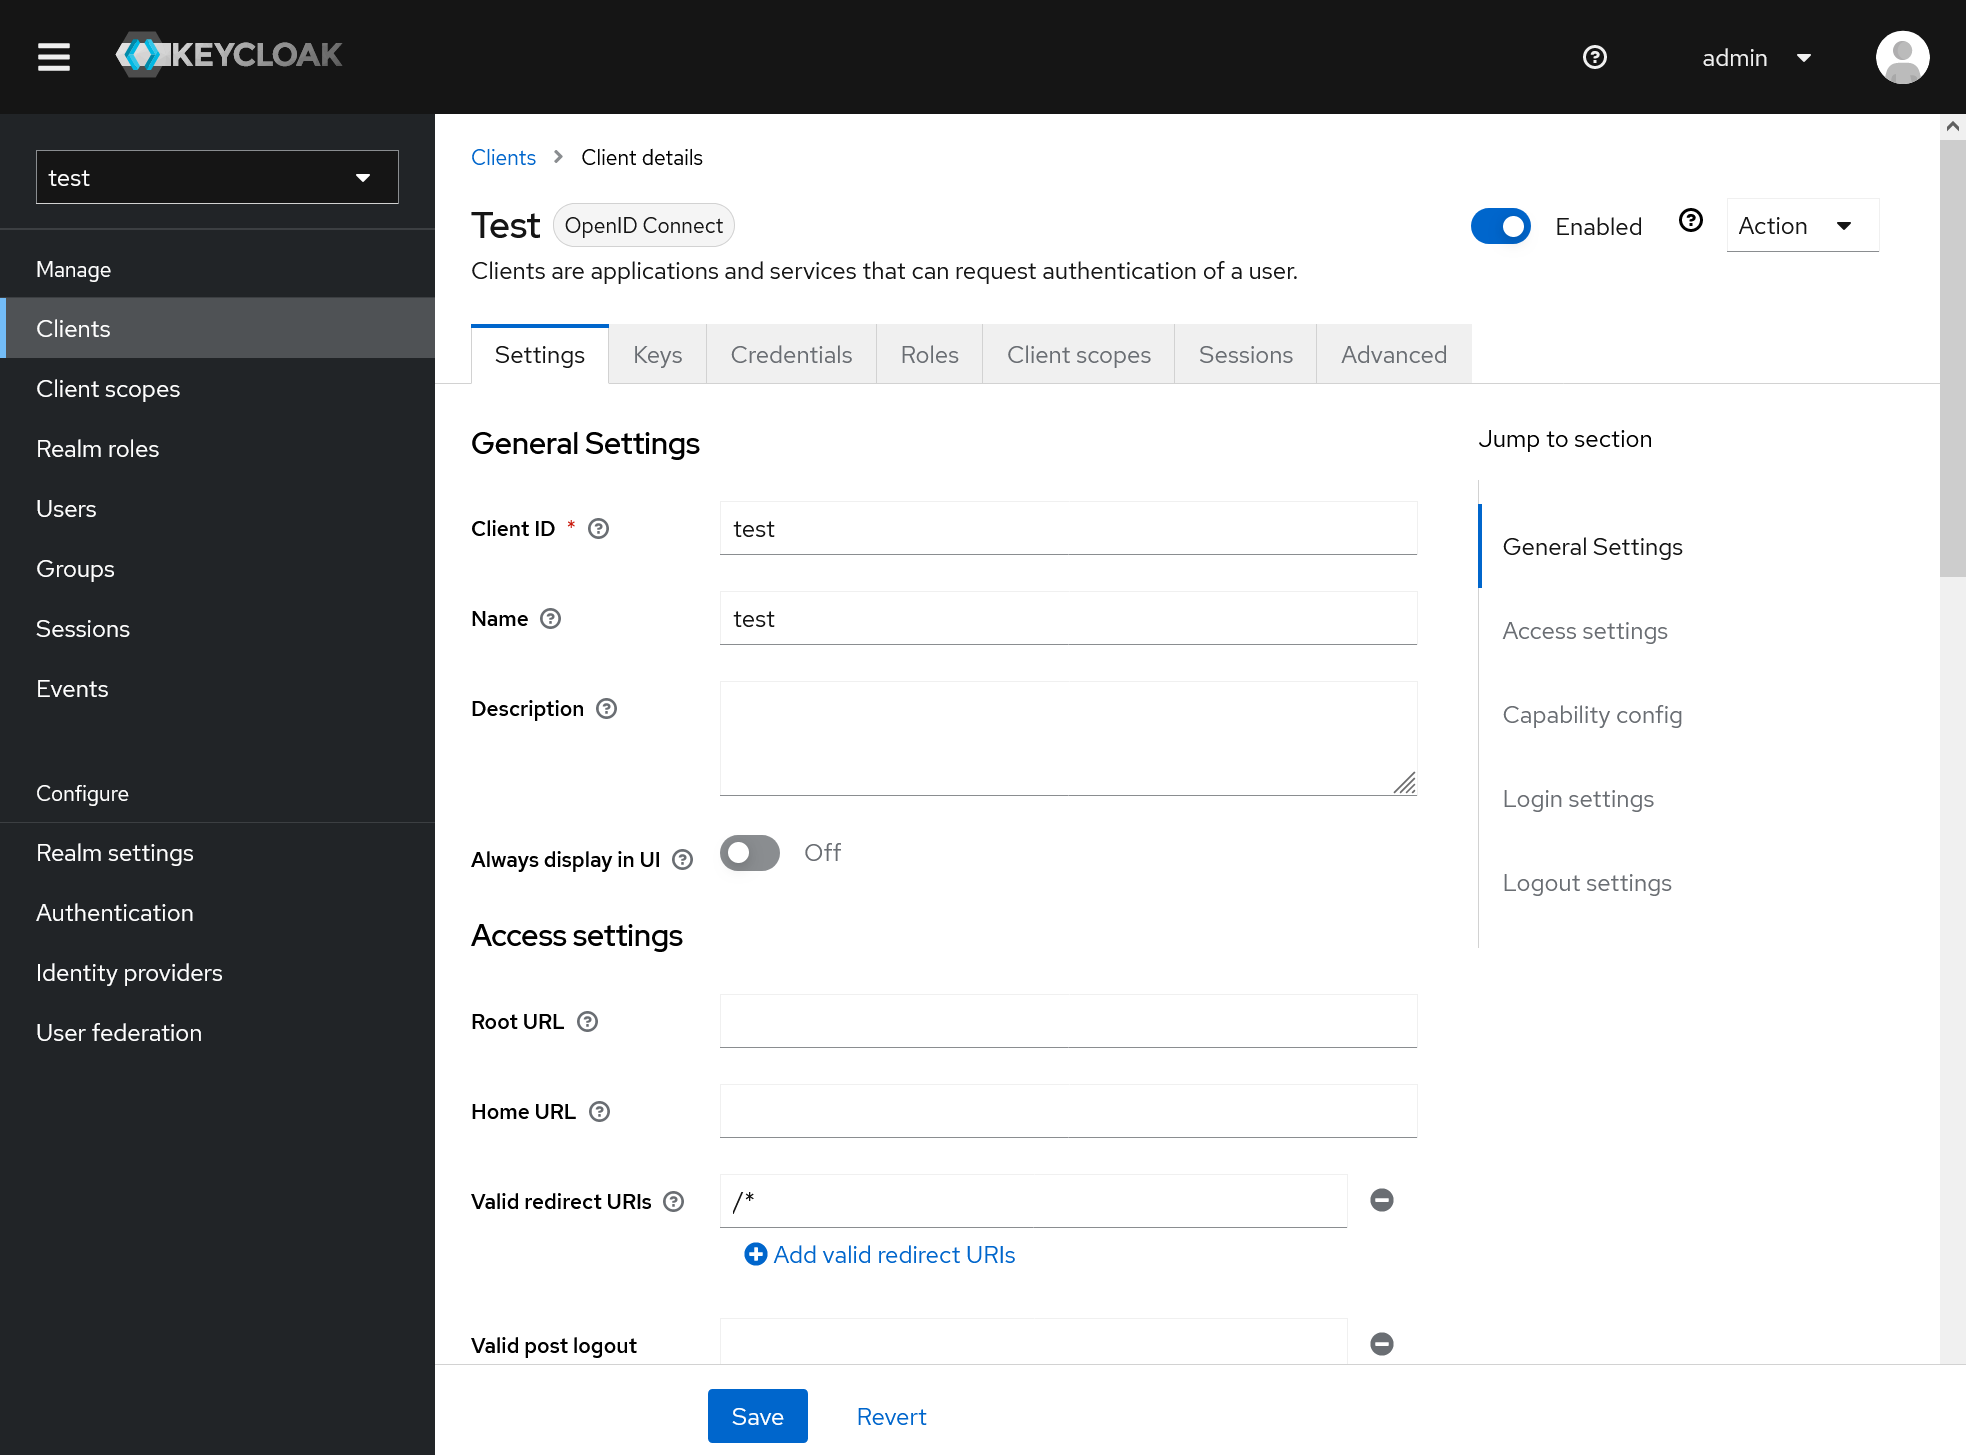
Screenshot: The Keycloak admin console.
I’ve been wanting an “SSO lab” for experimenting with Single Sign-On (SAML and OIDC) setups. My solution is a Keycloak instance running on Fly.io. This post is a brief tutorial for self-hosting your own Keycloak instance.
It’s not exactly a production-ready deployment strategy, but it works well enough for experimentation. A Postgres database is used for data persistence.
Some advantages of Fly hosting:
- Use the standard Keycloak Docker image.
- Automatic Postgresql database provisioning.
- Automatic HTTPS with TLS termination.
- Easy custom domain setup — or you can use the automatically-assigned
*.fly.devsubdomain. - Both the application and the database can be configured for scale-to-zero.
Prerequisites:
- The
flyctlCLI: https://fly.io/docs/hands-on/install-flyctl/ - A Fly.io account (run:
flyctl auth signup)
Launching Keycloak
Start by launching the app (substitute my-keycloak with a unique app name):
APP_NAME="my-keycloak"

flyctl launch \
  --name "$APP_NAME" \
  --image "quay.io/keycloak/keycloak:22.0.1" \
  --env "KEYCLOAK_ADMIN=admin" \
  --env "KC_HOSTNAME=$APP_NAME.fly.dev" \
  --env "KC_PROXY=edge" \
  --env "KC_DB=postgres" \
  --env "KC_DB_URL_HOST=$APP_NAME-db.fly.dev" \
  --env "KC_DB_URL_PORT=5432" \
  --env "KC_DB_USERNAME=postgres" \
  --no-deploy
Then, add a Postgres database:
flyctl postgres createWhen prompted to pick a deployment option, choose “Development” for the lowest-cost option.
When asked, name the DB application my-keycloak-db (again, substituting your unique app name for the my-keycloak part).
The output will include a database password. Save it somewhere safe, like a password manager.
Next, create a random password for logging into the Keycloak admin dashboard:
KEYCLOAK_ADMIN_PASSWORD="$(openssl rand -base64 32)"
echo "Password: $KEYCLOAK_ADMIN_PASSWORD"
Put this in the password manager too.
Then push the secrets to Fly:
flyctl secrets set \
  "KEYCLOAK_ADMIN_PASSWORD=$KEYCLOAK_ADMIN_PASSWORD" \
  "KC_DB_PASSWORD=<DB Password>"
Then add this to the created fly.toml:
[experimental]
  cmd = ["start"]
The Keycloak Docker image is set up with a custom script kc.sh as the ENTRYPOINT.
So, when the container starts, it’ll run something like:
kc.sh startFinally, Fly’s smallest instance size has 256 MB of memory; not quite enough to run Keycloak.
You can scale the app to 512mb+ memory, but that costs more, of course. A cheaper option: enable swap in the fly.toml:
swap_size_mb = 512The swap_size_mb key doesn’t go into any subsection of the fly.toml; it’s declared at the top, alonside app and primary_region.
Postgres setup
Before we can launch the app, we need to create a keycloak database in the cluster.
First, SSH into your Postgres instance:
flyctl ssh console --app my-keycloak-dbThen launch psql (you’ll be prompted for the DB password you saved earlier):
psql -h localhost -p 5432 -U postgresThen run this SQL statement:
CREATE DATABASE keycloak;At this point, we’re ready to deploy the app — but first, let’s take a quick detour and set up a custom domain (e.g. my-domain.example.com).
If you don’t want a custom domain, skip the following section.
Custom domain setup
Configure a CNAME record with value my-keycloak.fly.dev in your DNS provider (again, replacing my-keycloak with your unique app name).
Then run:
flyctl certs create my-domain.example.comAlso, update the KC_HOSTNAME variable in your fly.toml:
KC_HOSTNAME = "my-domain.example.com"Deployment
Okay; it’s deployment time. Run the following:
flyctl deployAnd make sure your scale is set correctly:
flyctl scale count 1This is the maximum scale; if you have auto-scaling enabled, this doesn’t prevent scale-to-zero. But it will prevent scale-to-two.
Once deployed, you should be able to visit https://my-domain.example.com — or, if you skipped the custom domain setup, https://my-keycloak.fly.dev — and see a splash screen:
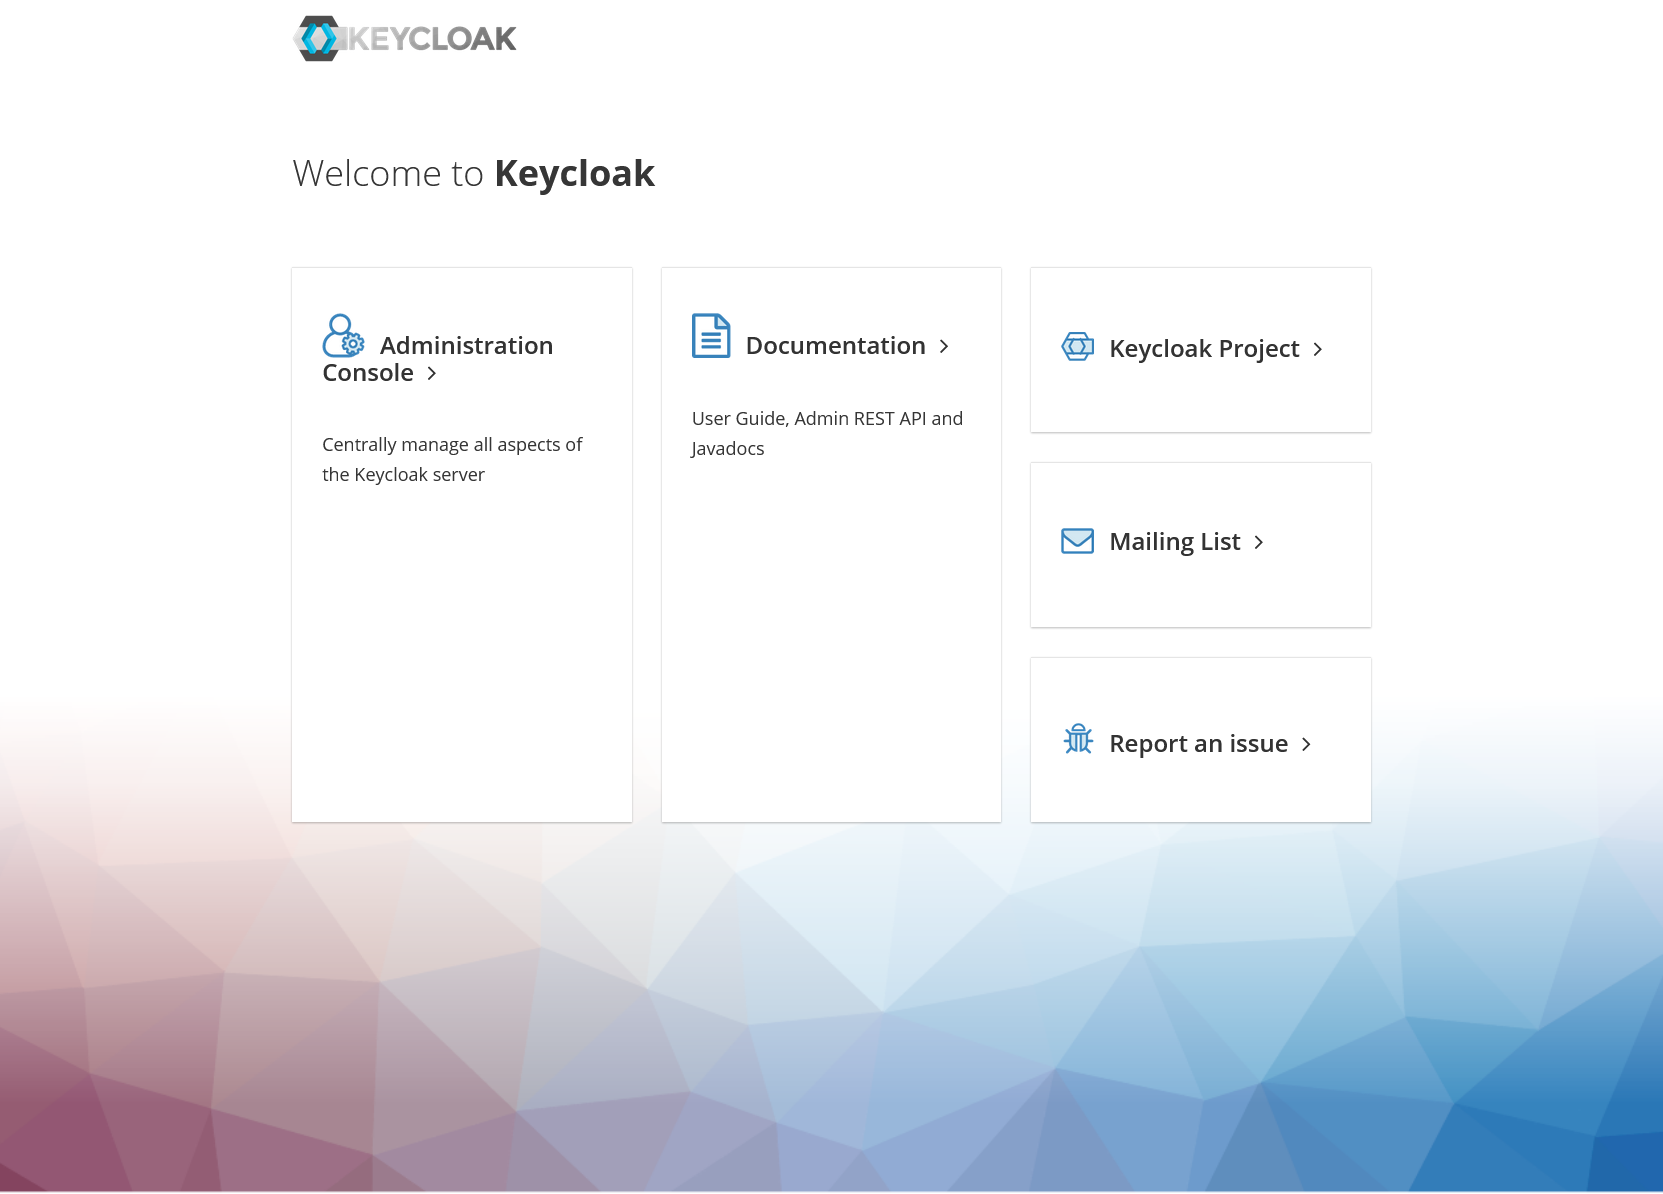
Try clicking the Administration Console link.
If the admin login screen just spins without loading, check whether your KC_HOSTNAME is correct. Also, use flyctl logs to see if Keycloak is logging any error messages.
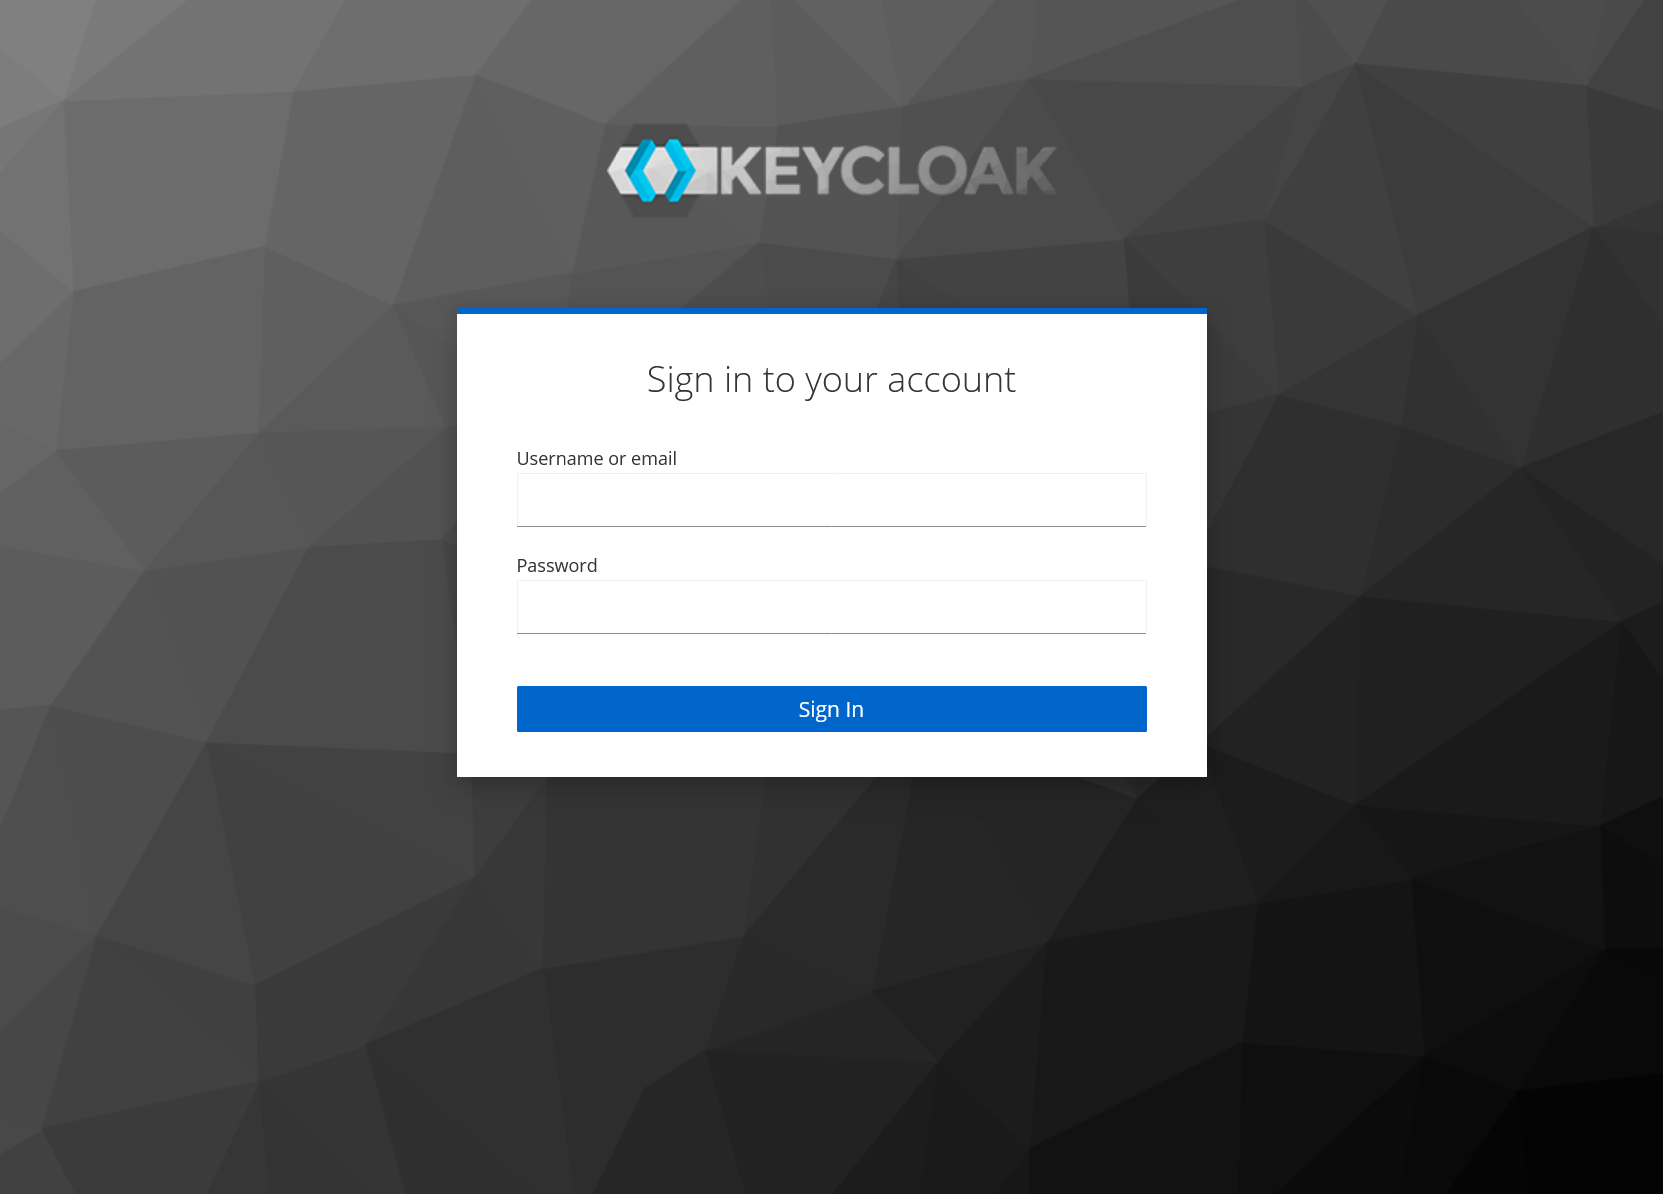
You should be able to login with credentials:
- Username:
admin - Password:
$KEYCLOAK_ADMIN_PASSWORD(from your password manager)
Once logged in, you’ll see a screen like this:
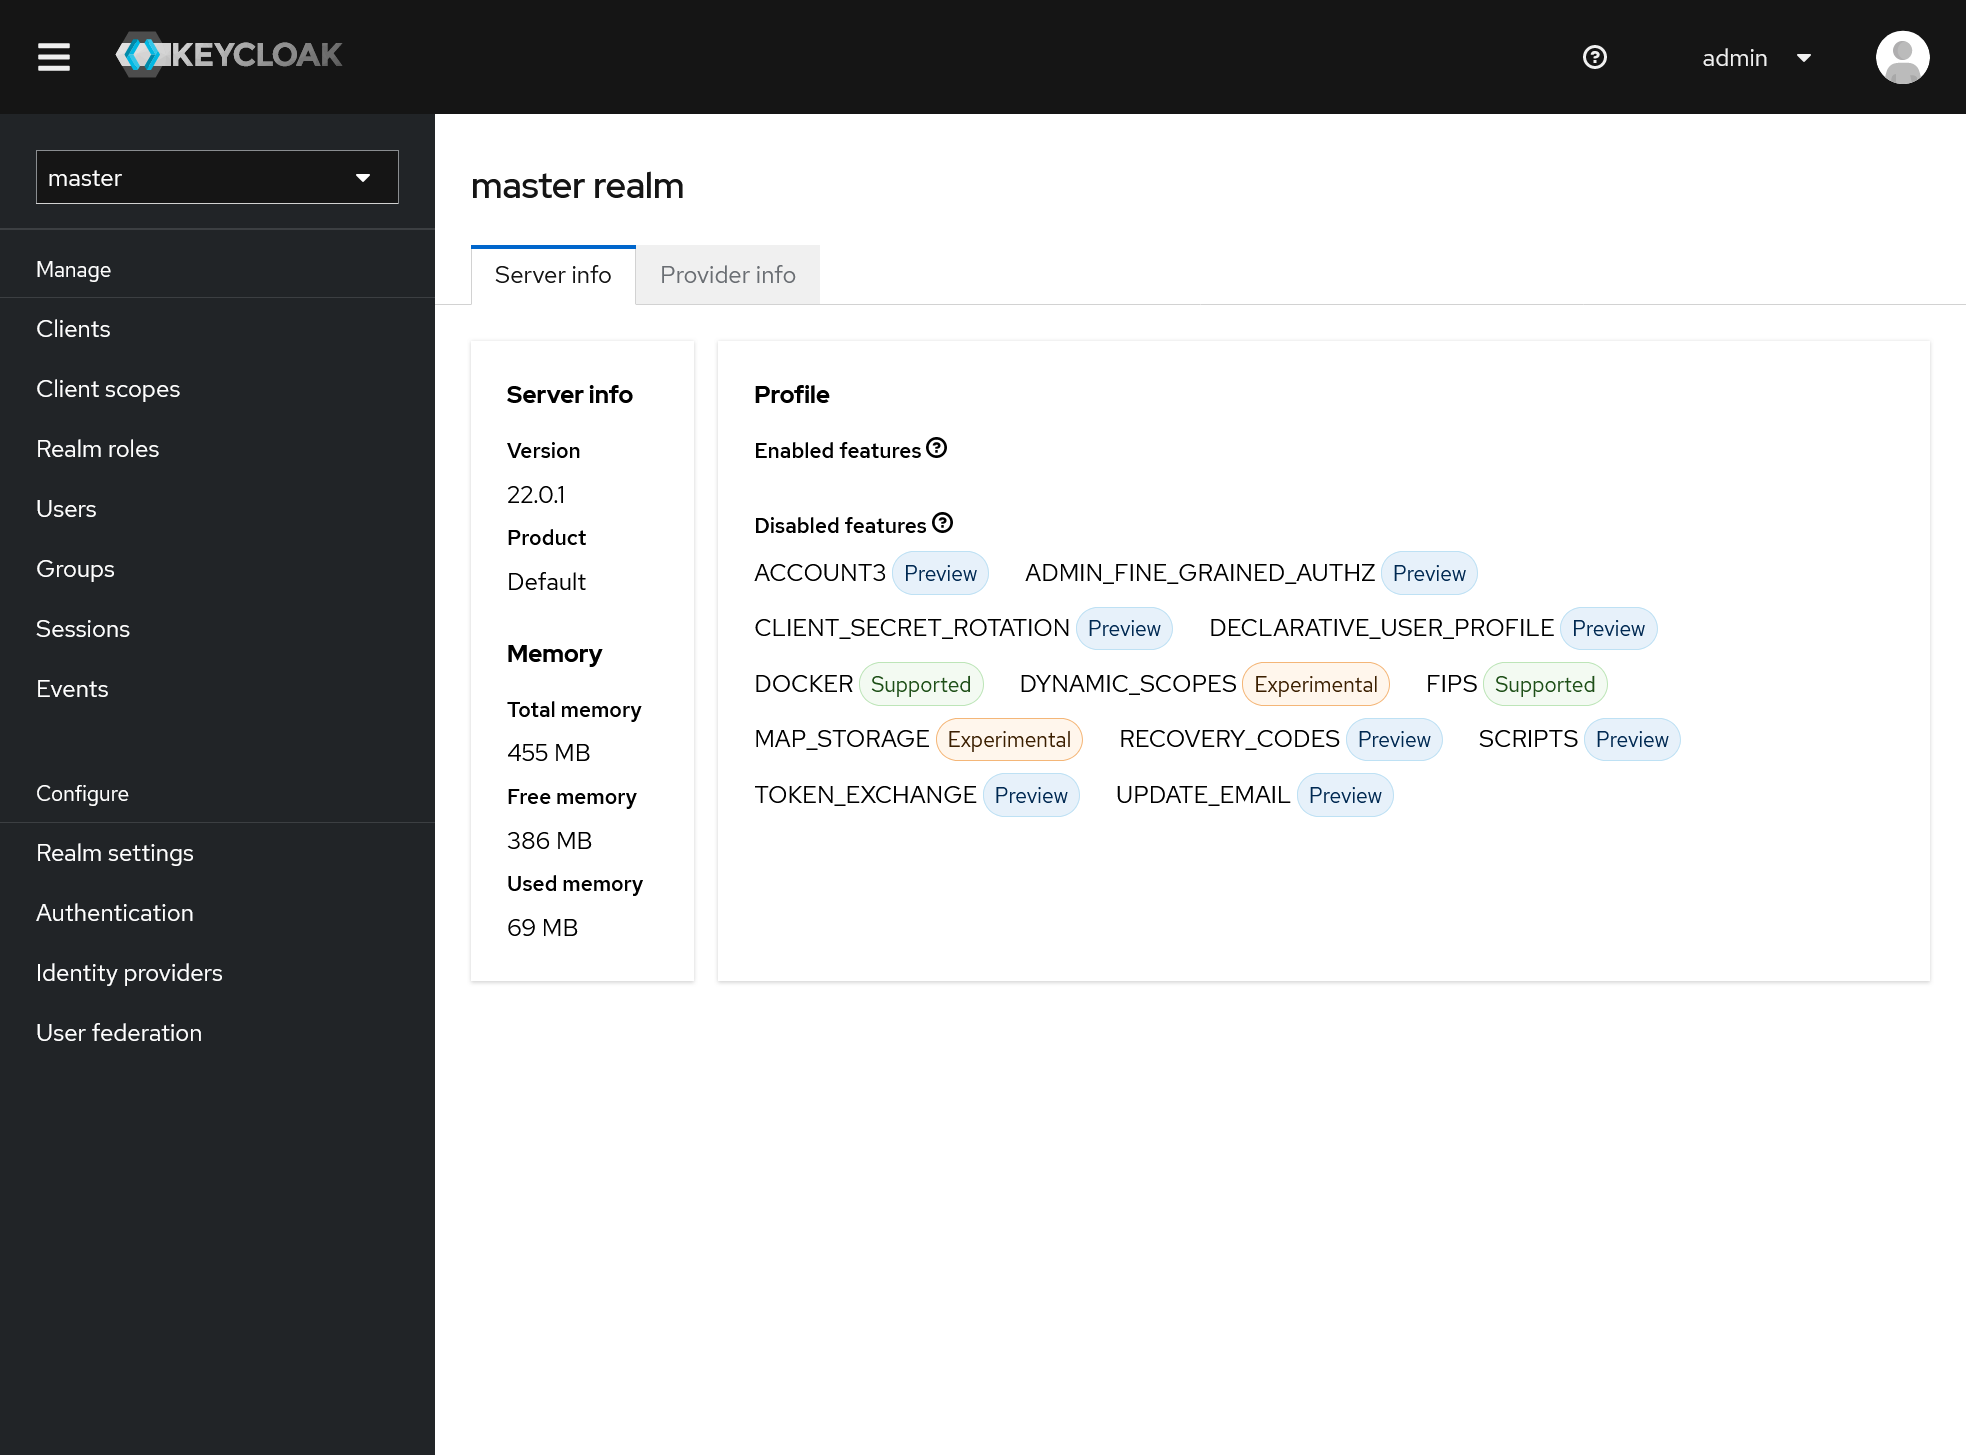
At this point, We’re done! 🎉
Keycloak instances take a few seconds to start, and admin dashboard sessions are lost when instances are scaled down.
Overall, scale-to-zero can be frustrating if you’re using the app heavily.
To temporarily prevent scale-to-zero, you can set the minimum machine count to 1 in the http.service section of the fly.toml:
min_machines_running = 1Run flyctl deploy to apply the change.
Note, the database will still scale to zero after an hour of inactivity; this doesn’t seem to be disruptive in my experience, so there’s no reason to disable it.
Next steps
For starters, I’d recommend enabling MFA on your admin user.
Then, follow the steps of the Keycloak Docker quickstart guide, starting with the Create a Realm step. This will walk you through:
- Creating a new realm.
- Adding a user to the realm.
- Creating an OpenID Connect client.
Troubleshooting
If you have issues, check the logs for your application:
flyctl logsYou can also check the application status:
flyctl statusAnd the status of your custom domain certs:
flyctl certs show my-domain.example.com