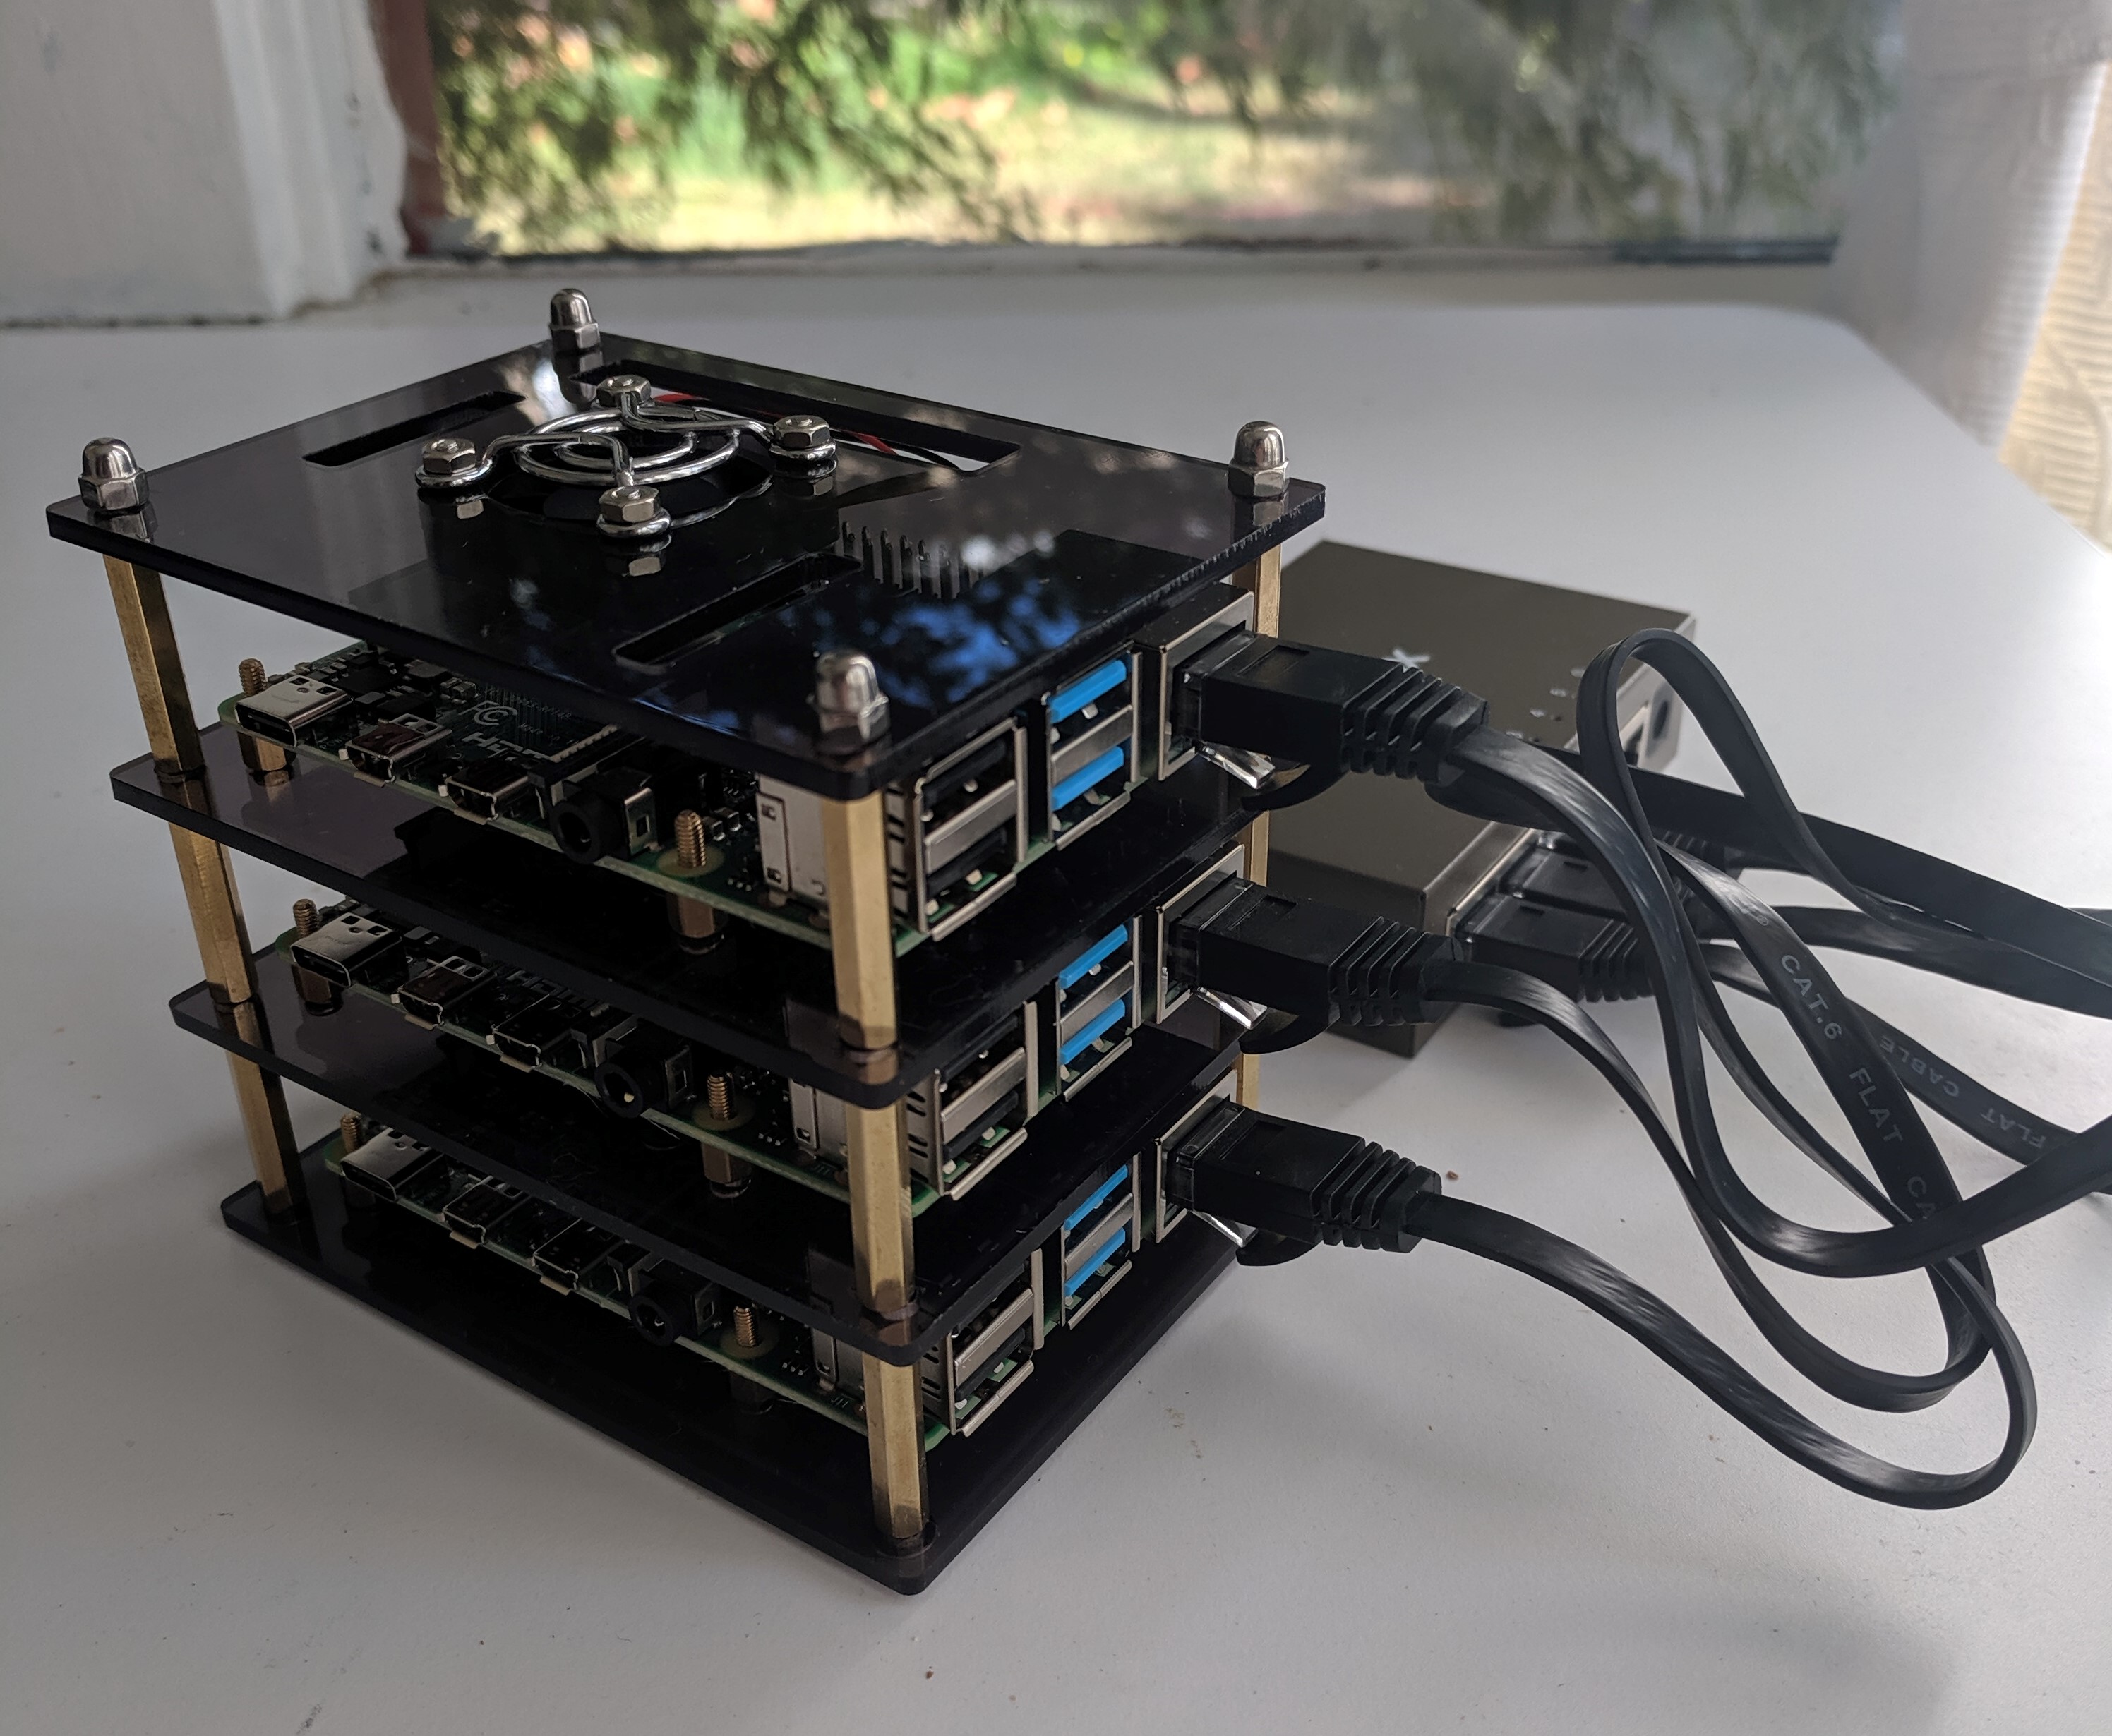
My initial Raspberry Pi cluster prior to being plugged in and provisioned
This post has my notes from planning and provisioning a lightweight Kubernetes cluster with Raspberry Pis and k3s.
Our goal is to build a cluster suitable for personal use (e.g. home automation, personal cloud, or offline services.) It should handle all the same workloads as an equivalently sized “managed Kubernetes” offering, in a maintainable and security-conscious way.
Prior Art
This project was inspired by other folks who’ve done a similar thing and blogged about it, including:
Planning
Let’s start the project by giving it some careful thought. Remember, failing to plan is planning to fail! (Or something like that.)
We know we want some Raspberry Pis, and we want to connect them together somehow. Let’s sketch out how that’ll fit into our home network.
For example, assuming we wanted to make a cluster with 3 nodes, my “home network diagram” looks something like this:
               ┌────────────┐
            ┌──│ ISP Modem  │
┌────────┐  │  └────────────┘   ┌────────┐
│Router  │  │                   │Homelab │
│        │  │                   │Switch  │      ┌────────────┐
│     out│──┘                   │       1│──────│pi1 (master)│
│        │     ┌────────────┐   │        │      ├────────────┤
│       1│─────│  Desktop   │   │       2│──────│pi2         │
│        │     └────────────┘   │        │      ├────────────┤
│       2│                      │       3│──────│pi3         │
│        │                      │        │      └────────────┘
│       3│                      │       4│
│        │                      │        │
│      *4│───────────┐          │       5│──┐
└────────┘           │          └────────┘  │
                     │                      │
                     └──────────────────────┘
This informs how we connect our devices, and how many ports and cables we need.
Buylist

Everything in the buylist is visible in this photo. 2 of 3 Pis were provisioned when this photo was taken.
The buylist below includes product links for example purposes only. Parts can generally be swapped out; the only exception is the Raspberry Pi 4 chargers. I’ve heard it’s a bad idea to try and use chargers other than the official one.
Assuming you want a cluster of N Pis:
- N Raspberry Pi 4 Model B with 4GB RAM
- N microSD cards (64 GB)
- N Raspberry Pi 4 official chargers
- N+1-port gigabit Ethernet switch
- N+1 Ethernet cables
- (optional) Cluster case for Raspberry Pi 4
- (optional) Power strip w/surge protector
In addition, it’s assumed we have two preexisting pieces of hardware:
- A router for our home network (with free Ethernet port).
- A separate computer that can be used to flash the SD cards.
Flashing
Before the Pis can be turned on, their microSD cards must be flashed with a bootable disk image.
For my build, I downloaded the Ubuntu 20.02 Server arm64+raspi disk image, and used the open-source flashing tool balenaEtcher to write the disk image to my microSD cards.
I chose Ubuntu Server because it supports the arm64 architecture.
Raspbian Lite is the officially recommended distribution for Raspberry Pis, and it certainly works well, but some containers won’t be able to run on the Raspbian architecture.
Once the image is flashed, we’ve got to do a tweak to the user-data file to disable password expiry. (Password expiry breaks some automation, and we’ll be disabling password login anyway.)
- Mount the microSD card’s
/bootfilesystem. (On Windows, it seems unplugging and replugging the SD card has the desired effect, because the boot filesystem is FAT formatted?) - Edit the
user-datafile in the mounted filesystem, changing theexpire: trueline toexpire: false.
Networking
Once the microSD cards have been flashed and inserted into the Pis, the next step is to connect them to our LAN so we can access them with SSH.
I like to provision my Pis with hostnames and IPs that correspond to their physical location in the cluster, i.e.:
switch port 1: name=pi1 ip=x.y.z.1
switch port 2: name=pi2 ip=x.y.z.2
switch port 3: name=pi3 ip=x.y.z.3
To achieve this with minimal impact on the home network, we’ll put them in a custom “Homelab” subnet within our LAN.
Let’s assume our LAN uses the 192.168.0.0/16 address space, and we want to use 192.168.123.0/24 for the homelab subnet. We want our network to look something like this:
┌────────────────────────────────────────────────────────┐
│Home LAN                               ┌──────────────┐ │
│192.168.0.0/16                         │Dev PC        │ │
│                                       │192.168.0.x   │ │
│                                       └──────────────┘ │
│ ┌────────────────────────────────────────────────────┐ │
│ │Homelab Subnet                                      │ │
│ │192.168.123.0/24                                    │ │
│ │                                                    │ │
│ │ ┌──────────────┐ ┌──────────────┐ ┌──────────────┐ │ │
│ │ │pi1 (master)  │ │pi2           │ │pi3           │ │ │
│ │ │192.168.123.1 │ │192.168.123.2 │ │192.168.123.3 │ │ │
│ │ └──────────────┘ └──────────────┘ └──────────────┘ │ │
│ └────────────────────────────────────────────────────┘ │
└────────────────────────────────────────────────────────┘
Router setups vary, but in my case I had to adjust three settings in my router to make this possible:
- Creating a LAN subnet for
192.168.123.0/24, and mapping it to Ethernet Port 4 (indicated by the*on the network diagram in the Planning section.) - Enabling DHCP assignment in the subnet, starting with
192.168.123.1. - Creating DNS name entries for
pi1 -> 192.168.123.1,pi2 -> 192.168.123.2, andpi3 -> 192.168.123.3.
My router lets you configure LAN subnets, but it doesn’t let you assign static IPs within those subnets. If your router allows it, you can replace step 2 with static IP allocation.
Whether the router uses static IPs or not, we’ll configure static IPs in the OS networking config during the provisioning step.
Once they’re all configured and the Ethernet cables are connected, you can ensure that IPs don’t jump around by plugging in the Pis one at a time, giving each enough time to reserve the next DHCP IP address.
If everything’s been set up correctly, you should be able to connect to your Pis with SSH, using the ubuntu user with ubuntu password:
ssh ubuntu@pi1Provisioning
At this point, the nodes are accessible from the network. It’s time to let automation take over — I’ve got some Ansible playbooks that can finish up the process.
The tl;dr of that link is once you’ve got the playbook requirements, you can run the following commands to finish provisioning:
# logs in as ubuntu:ubuntu user, creates your admin user
#  with SSH key, and disables ubuntu user login.
# will not work again after it runs once, since it disables its own login user.
scripts/provision.sh --user

# logs in as your admin user and finishes provisioning the Pis.
# Will restart the device.
# can be re-run later to reprovision things
scripts/provision.sh

# Merges cluster configuration into your ~/.kube/config
scripts/use_cluster.sh pi1
Once that’s done, you should be able to view your nodes with kubectl:
devbox$ kubectl get nodes
NAME   STATUS   ROLES    AGE   VERSION
pi3    Ready    <none>   18m   v1.18.2+k3s1
pi2    Ready    <none>   3m    v1.18.2+k3s1
pi1    Ready    master   24m   v1.18.2+k3s1
Tada! At this point, we can treat this just like any Kubernetes cluster and manage it using whatever tools we see fit.
This is still a learning process for me, but you can see the progress in my laboratory repsitory.
Debugging
When things don’t seem to be working, the following commands can help with debugging:
sudo systemctl status k3sto view detailed information about the k3s service (on agent nodes, the service is calledk3s-agentinstead ofk3s).sudo journalctl -xeto view all system logs, including output from the k3s service.crictlorctrto manage containers sincedockerisn’t available. e.g.crictl psto view running containers.glances, the system monitoring tool, is installed by the provisioning scripts.
