Update 2022-11-28 — I author my blog posts’ Markdown directly now, instead of publishing from Org-mode.
I’ve kept the original version of this page, with the
What you typeexamples using Org syntax, even though that’s outdated for my current publishing pipeline.The feature-set of supported formatting is still the same, I just don’t use Org syntax for things anymore.
This post illustrates the different features and formatting available for this blog. It’s partly a quick reference for myself, and partly a demonstration of what’s possible with an Org-mode based publishing solution.
The most basic formatting element is the paragraph, which is what you’re reading. In the published, styled HTML, paragraphs are separated by exactly one empty line, giving the impression of being written on lined paper.
The same vertical rhythm is maintained throughout all the formatting elements (except images and equations.) Click the following text to add lines to the background of the page to illustrate the effect:
Show/Hide Lines (no JS required)
Inline formatting
| Formatting | What you type | What you get |
|---|---|---|
| Bold | *foo* | foo |
| Italic | /foo/ | foo |
| Underline | _foo_ | foo |
| Monospace | =foo= | foo |
| Code | ~foo~ | foo |
| Equations | $\KaTeX$ |
External links
Links are written in the normal Org-mode format: [[target][name]]. For example:
| What you type | What you get |
|---|---|
[[https://luketurner.org][My homepage]] | My homepage |
Since this link starts with https:, it’s considered an external link.
Internal links
In addition to external links, it’s possible to make internal links, which point to other pages in your site. Links to other Org files (such as those Org-roam creates) are handled automatically, assuming the other file was also exported.
| What you type | What you get |
|---|---|
[[file:Blogging workflow.org][Other post]] | Other post |
[[attachment:foo.txt][Attachment]] | Attachment |
Anchor links
Finally, you can create anchor links, which point to other parts of the same document. There are four supported types of anchors:
| Same Page Targets | What you type | What you get |
|---|---|---|
* Headings | [[*Headings][Heading]] | Heading |
CUSTOM_ID: id | [[#id][Custom ID]] | Custom ID |
#+NAME: name | [[name][Name]] | Name |
<<target>> | [[target][Dedicated Target]] | Dedicated Target |
Block formatting
Headings
Headings are used to break a post into sections. The following heading levels are supported:
| Heading | Type this… | Get this |
|---|---|---|
h1 | * Foo | Foo |
h2 | ** Foo | Foo |
h3 | *** Foo | Foo |
h4 | **** Foo | Foo |
Lists
Three types of lists are supported: ordered, unordered, and description.
- Apples
- Bananas
- Oranges
- An unordered list
- Left to its own devices
- Tends to fly northward
Proposition 1 : The following proposition is false.
Proposition 2 : The previous proposition is true.
Lists can be nested in a mix-and-match fashion.
- Unordered One
- Ordered One
- Ordered Two
- Description One: What a lovely nest!
- Description Two: Good place for a rest!
- Ordered Three
- Unordered Two
- Unordered Three
Quotes
This is a quote block, used for including quotations offset from the regular text.
Monospace
This is a code block,
which preserves formatting,
but has no highlighting.
Code blocks
// foo.ts
export const foo: (x: number, y: number) => {
  return x * y;
}

// index.ts
import { foo } from './foo';
foo(1, 5);
Callout blocks
This is a “note” block. Notes are used to set off blocks of text, either for emphasis or to differentiate it from the content around it.
Warnings are notes that the reader should pay special attention to.
Info blocks are more for parenthetical information — digressions, etc.
Horizontal rules
Horizontal lines are written with five dashes: -----.
They’re spaced to preserve the vertical rhythm of the text.
Images
Images are supported using Org attachments:
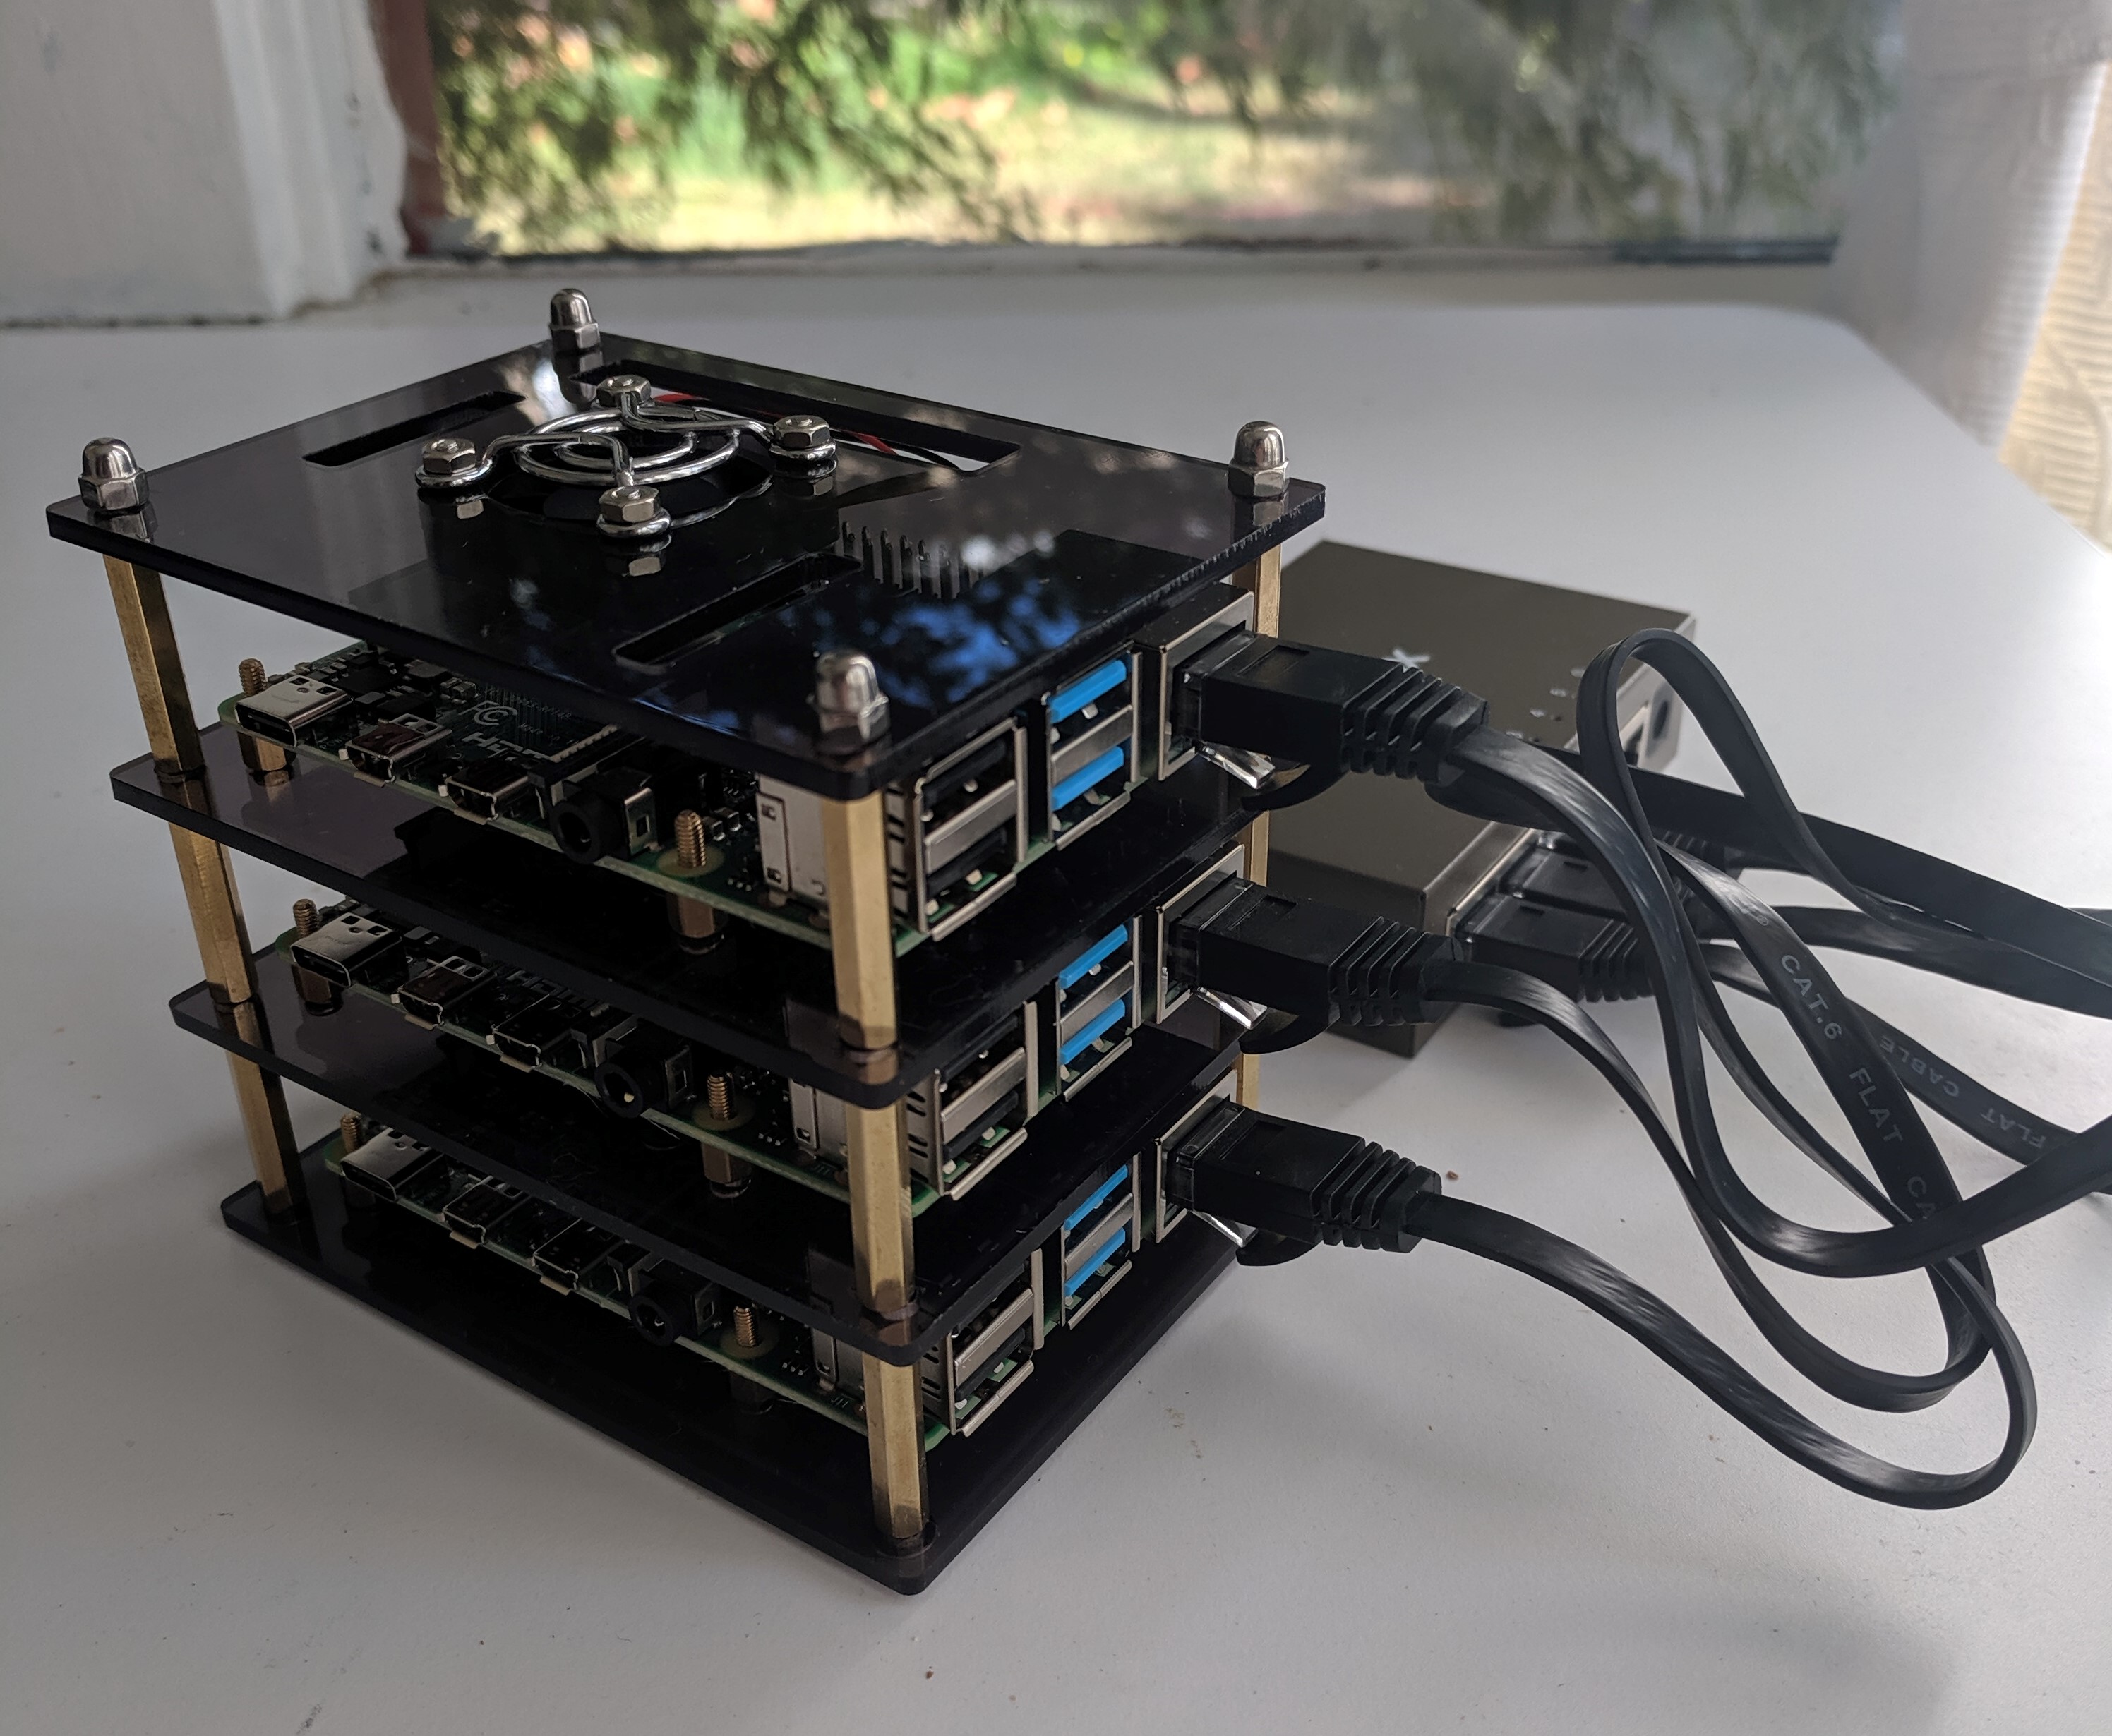
Figure 1: Captions can be added to the figure with #+CAPTION.
A “direct link” to an image (e.g. View full-size image) can be done with:
[[attachment:wip1.jpg][View full-size image]]Equations
Equations are rendered using . Block expressions ($$ ... $$) are supported:
Tables
Tables are supported:
| Heading 1 | Heading 2 | Heading 3 |
|---|---|---|
| Cell 1 | Cell 2 | Cell 3 |
Diagrams
Diagrams can be rendered with Mermaid:
Or with D2:
Hints
When certain formatting isn’t available in Org-mode, HTML classes can be used to adjust the way elements are rendered. This is an ad-hoc interface between the Org document and the theme’s CSS, so I like to say I’m hinting the theme about how to display the element.
Hinting is performed by wrapping the element with a div:
<div class"my-hint-class">

Thing I want to hint goes here

</div>
Generally, writing HTML directly into your Org-mode files like this is a bad practice, so hints should be kept to an absolute minimum.
Widening
The widen hint indicates that block elements should expand into the margins if
the user’s screen has the real-estate for it. This is especially useful for
code:
export const myUnusuallyLongVariableName: "longlonglonglonglong";Pretty much any block element can be widened! Notes, info blocks, quotes, code, tables, etc.
Paragraphs can be widened as well! However, widening paragraphs leads to a poorer reading experience. The default width is intended for normal text; only widen things that really need the extra space.
